"I begin with an idea ... and then it becomes something else"
~ Picasso

Showing posts with label Printing. Show all posts

Sunday, 9 July 2017

Surface Treatment Workshop - week 18

I'm really enjoying this weekly project, exploring techniques and products that are both familiar and unfamiliar.  When it's a technique that I am used to I try to take it in a different direction, other times the products are familiar but the technique is new.  This happened for me with ventilation tape.  I am used to this stuff being around at home as my better half was a heating and ventilation design engineer ... but using the stuff in art ... there's a thought!!!

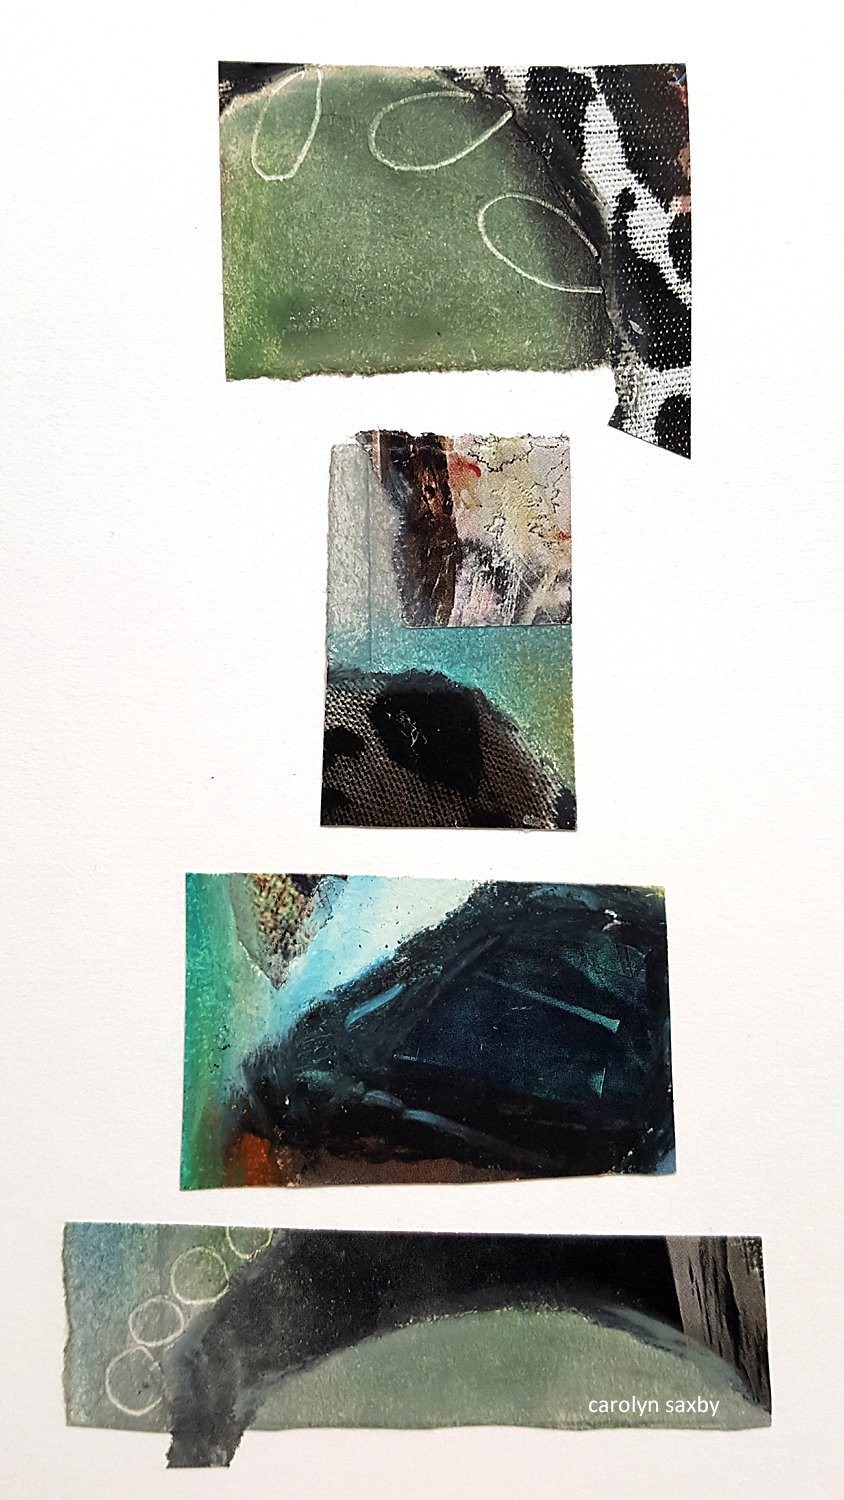
Ventilation tape is also known as duct tape or insulation tape and is a heavy duty silver foil that comes on a roll.  It is adhesive and is very, very sticky when the paper backing is removed.  Before removing the paper backing, the prompts suggested etching a design onto the tape with a pencil, but I found a needle achieved a sharper design.


I etched small designs onto the tape, cut the tape into strips, peeled off the backing paper and applied the tape to a background.  It is still possible to work more etched design at this stage, so I added a little more pattern.


Then, using acrylics, I painted over the etched texture, first with Cornish colours and then a pearl white over the top.  The acrylics, I found, had to be applied almost neat for them to stay on the foil.


I have to say ... I really enjoyed creating this with no agenda.


Next, I decided to explore etching a little more using a sharp needle for a finer line and inspired by some old bottles and Carn pottery on my studio windowsill.  I peeled the backing off and applied the tape to some tags first before etching and then coloured the bottles with turquoise acrylic ink to compare to acrylic paint.  The tape took the ink better but took a real age to dry completely (overnight).


I wanted to see if I could get a "rubbing" from the design on the right.  It was very fine, so I had some difficulty with it.  Despite trying with pencils, oil pastels, soft chalk pastels and crayon on tissue paper my image was very faint ...

Lastly, this is a useful one for creating texture in artwork ... etching marks and lines on the ventilation tape, then scrunching up to create lots of texture, then painting with acrylics.  I used pearl, blue and paynes grey.  It still has the backing paper on it which can be used to help it adhere to art work, although this was compromised in the wet (painting) stage.  I would recommend using additional glue to fix.  I like that the etched lines are still visible despite the severe scrunching I gave it.  No doubt, this will be useful in painting or collage in the future.


So that was a quick post on ventilation tape.  I did enjoy this week's technique and will be using it in my work.  Next up is "embossing" which I have already done in readiness for Wednesday's post.  Yes, "Workshop Wednesday" will actually arrive on Wednesday this week!

Have a great week ahead everyone ... play lots! x

Friday, 7 July 2017

Surface Treatment Workshop - week 17

For week 17 we explored printing with sponges, rollers and foam.  Quite simple patterns in my favourite Cornish colours, particularly inspired, perhaps, by the way the weather changes the colours of the sea in the bay, the rocks, lichen and seaweed as well as misty mornings, yellow early morning light and harbour forms.

I began with a gelli printing session to create the backgrounds then used a roller with bands wrapped around it and a sponge which I cut into.  Quite simple.  Quite quick.  Interesting results.  Just playing ...


In week 18 (which I will share over the weekend) we etched into ventilation tape.  It has some possibilities that I want to explore, so more on that soon.  Thank you for all your comments on the last post and for following along.

Tuesday, 27 June 2017

Surface Treatment Workshop - weeks 14 and 16

I have persevered with the "skin" samples for week 14 of The Surface Treatment Workshop, spurred on by the purchase of some Liquitex gloss gel and a bit more time to play.  Liquitex gloss gel is such a fun product to play with and dries clear and jelly like.

I applied the gel quite thickly onto the top of a plate which I had previously been using as a palette.  My palette still had leftover dried on paint and some newspaper print too.  I spread the gel over the paint and newsprint and sprinkled mica powders on top with a little water.

As the gel dried, it became clear and the paint and print beneath could clearly be seen.  After a while, it set hard and I was able to peel it off.  A "skin" is basically a "peel off".  This is how it looks on the top of the skin ...

 
and this is the back of the skin with the paint and newsprint ...


The sample below is more Liquitex gloss gel with gilding flakes embedded in the gel.  It starts out white and dries clear.


I pushed the gilding flakes into the paste with a soft paint brush and added some watered down mica powder which collected around the flakes.


This is the finished skin ... it's translucent but against a white background this doesn't show up well.


This is my peeled off molding paste skin with image embedded, finished with phthalo turquoise and glazing gel.  The skins made with Liquitex gloss gel and molding paste are pliable and thin enough to stitch into, if desired.


Below, I used white acrylic paint, thickly applied, to make this skin.  I swirled a little gold acrylic into the white.  This one took ages to dry out, before I was able to peel it off.  I'm not really keen on it either, as it has a plastic feel and appearance, but it is thin enough to stitch into if desired.


I discovered that molding paste takes rust very well.  I spread the paste on the piece of rust and left for several days.  When it had dried out thoroughly, I was able to peel the molding paste skin from the rusted metal and with it came quite a lot of the rusty texture!  If rust is your thing, this might be a useful technique as the skin is pliable and could be stitched into for layering in art work.


The last skin (paynes grey thinly applied) resulted in lots of tiny peely bits which I decided to keep for adding texture in collage.


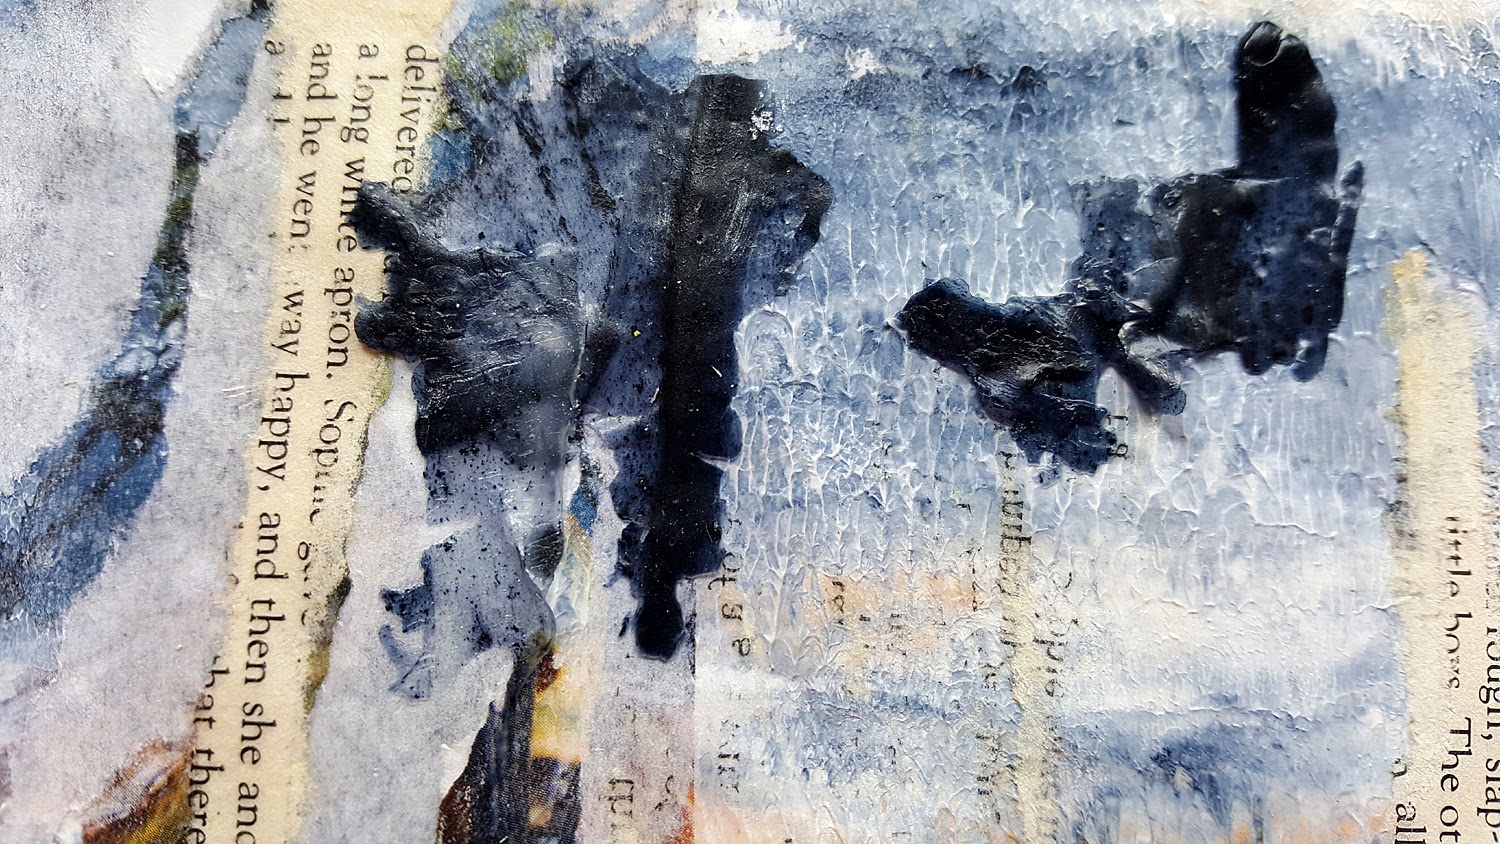
I decided to use some of these bits in one of my samples for week 16.  The acrylic "peels" adhered on this "pulled paper" sample quite easily with a common or garden glue stick.


So, week 16 is "pulled paper" which is a way of adding text and texture to collage and artwork to give it the grungy, layered appearance of old ripped posters.  It's a lot of fun building up layers ... with interesting and unexpected results.  You never quite know what's going to happen when you rip it off!

I used mod podge, but PVA glue or other mediums work just as well.  Brush the glue of your choice onto a painted surface and then apply some paper with text or an image, text side down. Leave the text on for about a minute or so and then pull the paper off.  Mod podge is quite a cheap product to use and I like it's matte appearance which is great for the layering part.

Here are some of my finished pieces and some details ...


These book samples tie in quite nicely with the next challenge, so here is a little glimpse ...


In case you're wondering, there was no week 15 as the material to try was Krylon "spray webbing" and I have found it's pretty hard to come by in the UK.  I especially wanted to try silver spray webbing but I couldn't get any.  I have given up with it for the time being.

Finally, if you follow my posts on your mobile phone you may have noticed a different format which I hope you may find easier to read.  If you prefer to read the website version with all my links and twiddly bits down the side bar, then there is a link at the bottom of each post for you to click on and read in the old way.  These days, there are so many techno things to consider.  Personally, I prefer to read and write on my laptop but we all seem to be "on the go" these days that I had a review of things.  Thank you, always, for reading and I would love to know what you think.

Friday, 28 April 2017

Surface Treatment Workshop - week 9

For week 9 of the Surface Treatment Workshop my sister Evelyn and I explored the properties of
Golden Medium Fiber Paste.  Fiber Paste is a runny white paste with a grainy texture which can be applied to paper to make it flexible like a fabric and, once dried, has many uses and applications.


I used a palette knife to apply some of the paste to a few sheets of A4 paper and left to dry.

For my first few samples I tried printing some vintage images on the fibrous paper by loading
the fiber paste paper into the paper tray of my inkjet printer.


You can see that the fiber paste paper has an intense grain and a lot of the detail was lost compared
to regular printing (below) so, personally, I'm not really keen on the effect and the “grain" is a
negative thing for me.  Evelyn printed a couple of her photos in colour and hers were lovely.


below ... just playing with the depth of field
and giving the woman big feet and long legs


The next few samples are about embedding.  "Snippets" can be embedded in wet fiber paste and, when dry, it can be painted too.  I decided to check out these qualities by making a collage using up snippets of fabric and cutting up pieces of art work.


I spread fiber paste over an A4 sheet of paper (100gsm) with a palette knife, then quickly added snippets of fabric and bits of artwork into the wet paste ... then left to dry.  The paste was like glue and the snippets were very well embedded in the paste.


Then I painted around the snippets using watered down acrylics and blending the colours with more water.  Next I ironed on gold foil which picked up and highlighted the texture

some details …

[brown/gold textures]


then I cut up into six pieces and re-arranged

Now a lovely positive thing about fiber paste on paper is that it's very flexible.  It gives a sheet of paper the quality of a fabric which means that I'm able to sew into my little samples if I wish and now I'm beginning to like fiber paste ...


I also used the fiber paste through a stencil.  When the fiber paste was dry I painted with acrylics and h2o paints and later I ironed on some gold to enhance.


and ... finally it's possible to rust fiber paste paper ...


samples below are ...

left - rusting in wet fiber paste
right - rusting after the fiber paste has dried


In conclusion, I doubt I will use the rest of my pot of fiber paste so I'm going to hand it over to my sister who loved it and will actually use it with her lovely photography.

next up - drawing grounds