"I begin with an idea ... and then it becomes something else"
~ Picasso

Showing posts with label Paint. Show all posts

Wednesday, 12 July 2017

Surface Treatment Workshop - week 19

This week's workshop was about embossing.  I tried out Liquitex gloss gel, Golden molding paste and my favourite Daler texture paste.  It's always interesting to see how the products perform and compare.

I will share the Liquitex gloss gel first.  This is the product I used to make the "skins" a couple of weeks ago (it's a white gel medium that dries clear).  I spread it over two background pieces and left for about ten minutes each until the gel had just started to thicken and skin over.

On the first piece I pressed a piece of scrim into the gel to leave a pattern and then left it to dry again properly.  Once dry, acrylic paints and mica powders painted on top enhance the pattern.


Below, the same again but with a finer mesh pressed into the gel and then painted with paynes grey, black, shimmery silver and mink mica powders.


This was a really good product for embossing texture.  It worked so well that it was almost like I had applied a real scrim to the texture and embossing is most definitely the very next best thing.

The other really good property of Liquitex gloss gel is that, as it dries clear, layers beneath clearly show through.  I put this to the test on top of one of my prints from week 18.  I had originally monoprinted and then over printed with roller and bands.  So, on top of that I applied the gel and left for ten minutes to set, then pressed a piece of Carn pottery into the gel.  Lifted off the pottery piece, let the collage dry.  I didn't paint over the top because I liked the textured pattern with the collage showing through.
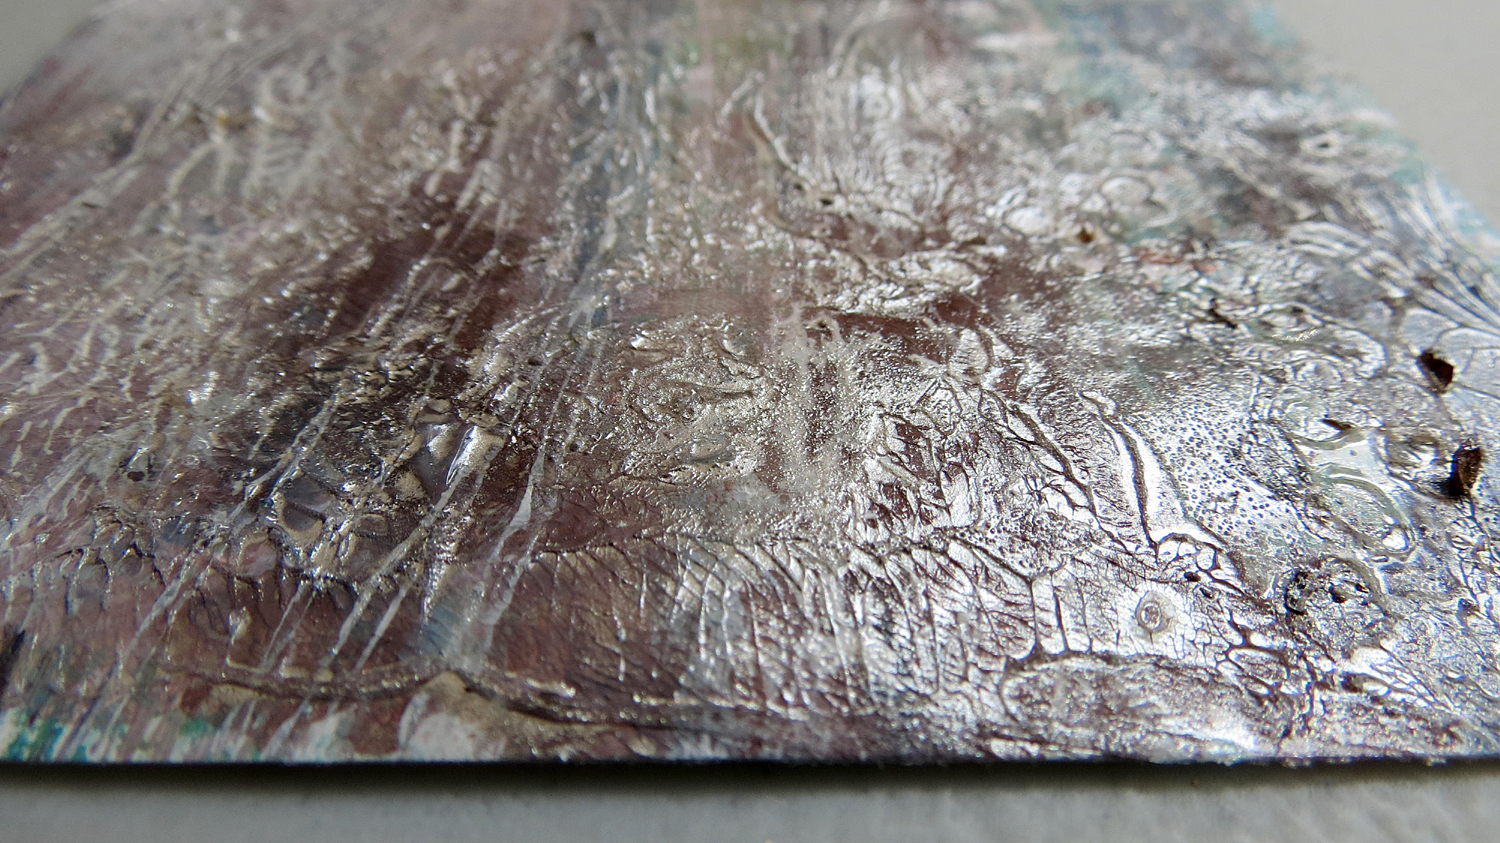


This is Golden molding paste.  Same as the gel above, it has to be applied and then left to almost set before textures can be pressed into the paste.


I pressed some pottery patterns into the paste and also etched some lines then heated with a heat gun before painting with pale blue and gold mica powders.  It made some lovely texture.


One more piece with the molding paste ... embossed, etched and then heated with a heat gun.


This one below is Daler texture paste embossed with lace and is probably my favourite.  On the left I used some soft cotton with a small patterned broderie anglaise edge and on the right some gold metallic lace with a larger lace patterned area.


Lots of potential with this technique for working on canvas, paper or fabric.  The next prompt is "glazes and final finishes" and I'm eagerly awaiting Evelyn’s update for weeks 18 and 19.  Her ideas are always interesting.

Meanwhile, I will be continuing with my new passion of eco dyeing, particularly on paper.  I had a go yesterday with moderate success, so will press on with experiments.  So far, I am getting strong blues and purples, some greens and browns.  I would really like to see some natural yellow, orange or pink coming through.

my first eco print on paper

Also, working hard on my Cornwall themed textiles which I'm not quite ready to share yet but I will be updating the website and facebook page generally for St. Ives Textiles very shortly.

Thank you for dropping by today x

Sunday, 9 July 2017

Surface Treatment Workshop - week 18

I'm really enjoying this weekly project, exploring techniques and products that are both familiar and unfamiliar.  When it's a technique that I am used to I try to take it in a different direction, other times the products are familiar but the technique is new.  This happened for me with ventilation tape.  I am used to this stuff being around at home as my better half was a heating and ventilation design engineer ... but using the stuff in art ... there's a thought!!!

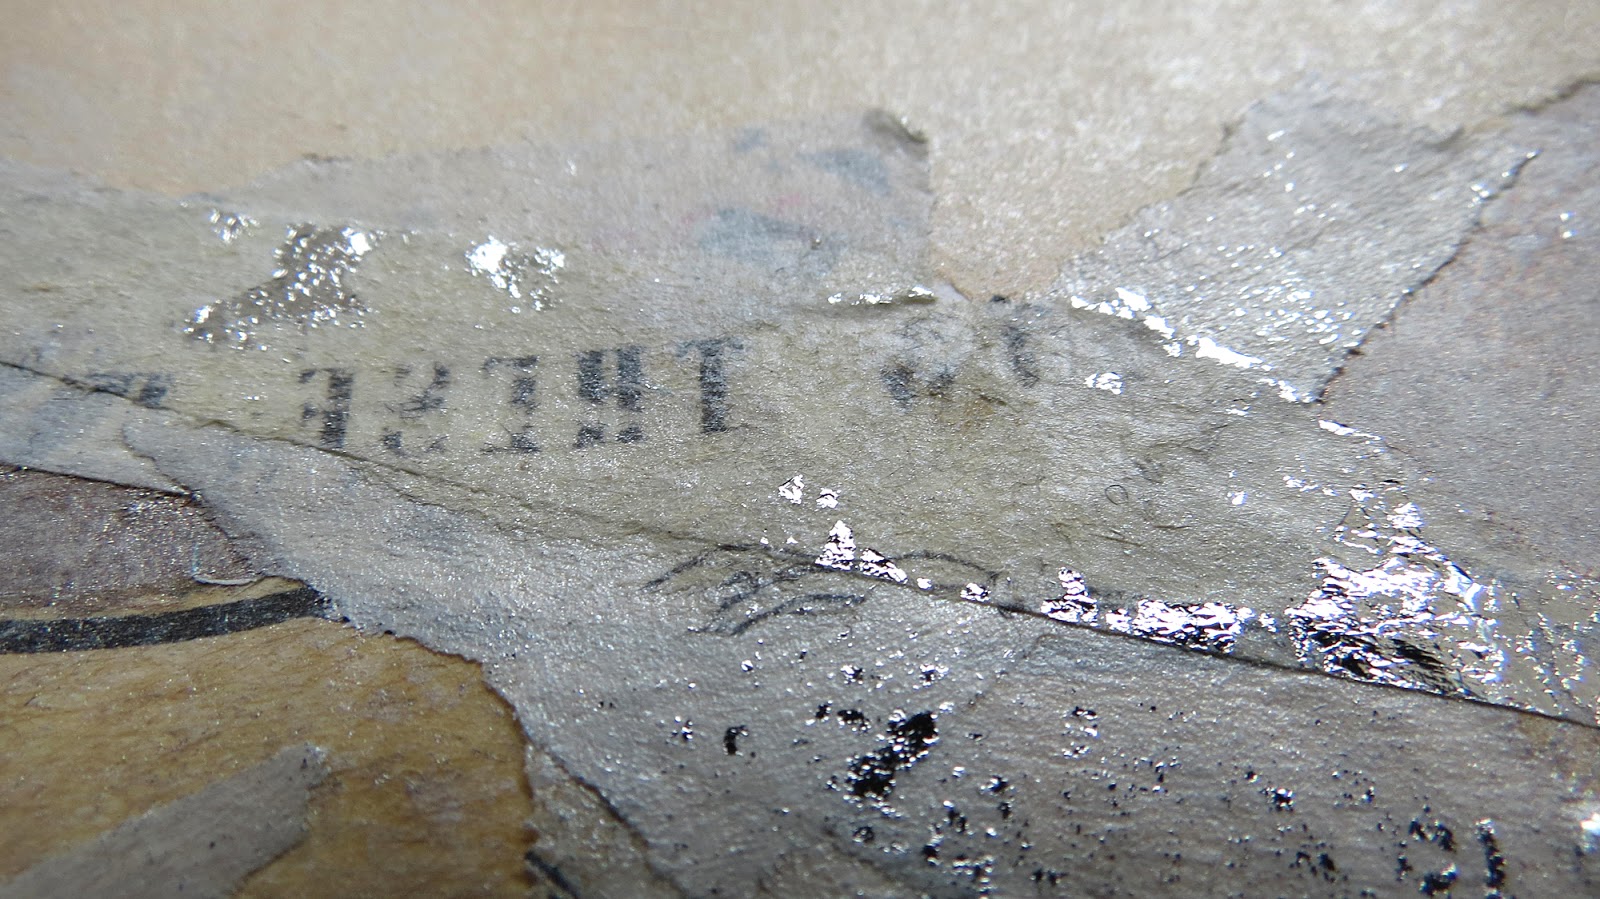
Ventilation tape is also known as duct tape or insulation tape and is a heavy duty silver foil that comes on a roll.  It is adhesive and is very, very sticky when the paper backing is removed.  Before removing the paper backing, the prompts suggested etching a design onto the tape with a pencil, but I found a needle achieved a sharper design.


I etched small designs onto the tape, cut the tape into strips, peeled off the backing paper and applied the tape to a background.  It is still possible to work more etched design at this stage, so I added a little more pattern.


Then, using acrylics, I painted over the etched texture, first with Cornish colours and then a pearl white over the top.  The acrylics, I found, had to be applied almost neat for them to stay on the foil.


I have to say ... I really enjoyed creating this with no agenda.


Next, I decided to explore etching a little more using a sharp needle for a finer line and inspired by some old bottles and Carn pottery on my studio windowsill.  I peeled the backing off and applied the tape to some tags first before etching and then coloured the bottles with turquoise acrylic ink to compare to acrylic paint.  The tape took the ink better but took a real age to dry completely (overnight).


I wanted to see if I could get a "rubbing" from the design on the right.  It was very fine, so I had some difficulty with it.  Despite trying with pencils, oil pastels, soft chalk pastels and crayon on tissue paper my image was very faint ...

Lastly, this is a useful one for creating texture in artwork ... etching marks and lines on the ventilation tape, then scrunching up to create lots of texture, then painting with acrylics.  I used pearl, blue and paynes grey.  It still has the backing paper on it which can be used to help it adhere to art work, although this was compromised in the wet (painting) stage.  I would recommend using additional glue to fix.  I like that the etched lines are still visible despite the severe scrunching I gave it.  No doubt, this will be useful in painting or collage in the future.


So that was a quick post on ventilation tape.  I did enjoy this week's technique and will be using it in my work.  Next up is "embossing" which I have already done in readiness for Wednesday's post.  Yes, "Workshop Wednesday" will actually arrive on Wednesday this week!

Have a great week ahead everyone ... play lots! x
Friday, 28 April 2017

Surface Treatment Workshop - week 11

Now we are on week 11 - drawing grounds and I'm finally glad to be up to date again!

Creating a drawing grounds means preparing a surface on which you can draw, paint, make marks or add additional colour over, perhaps, collaged, textured or uneven bases.

Examples of drawing grounds are clear gesso, gels and matt mediums and they work by sealing layers and providing a bit of "tooth" to a surface in preparation for creative design.


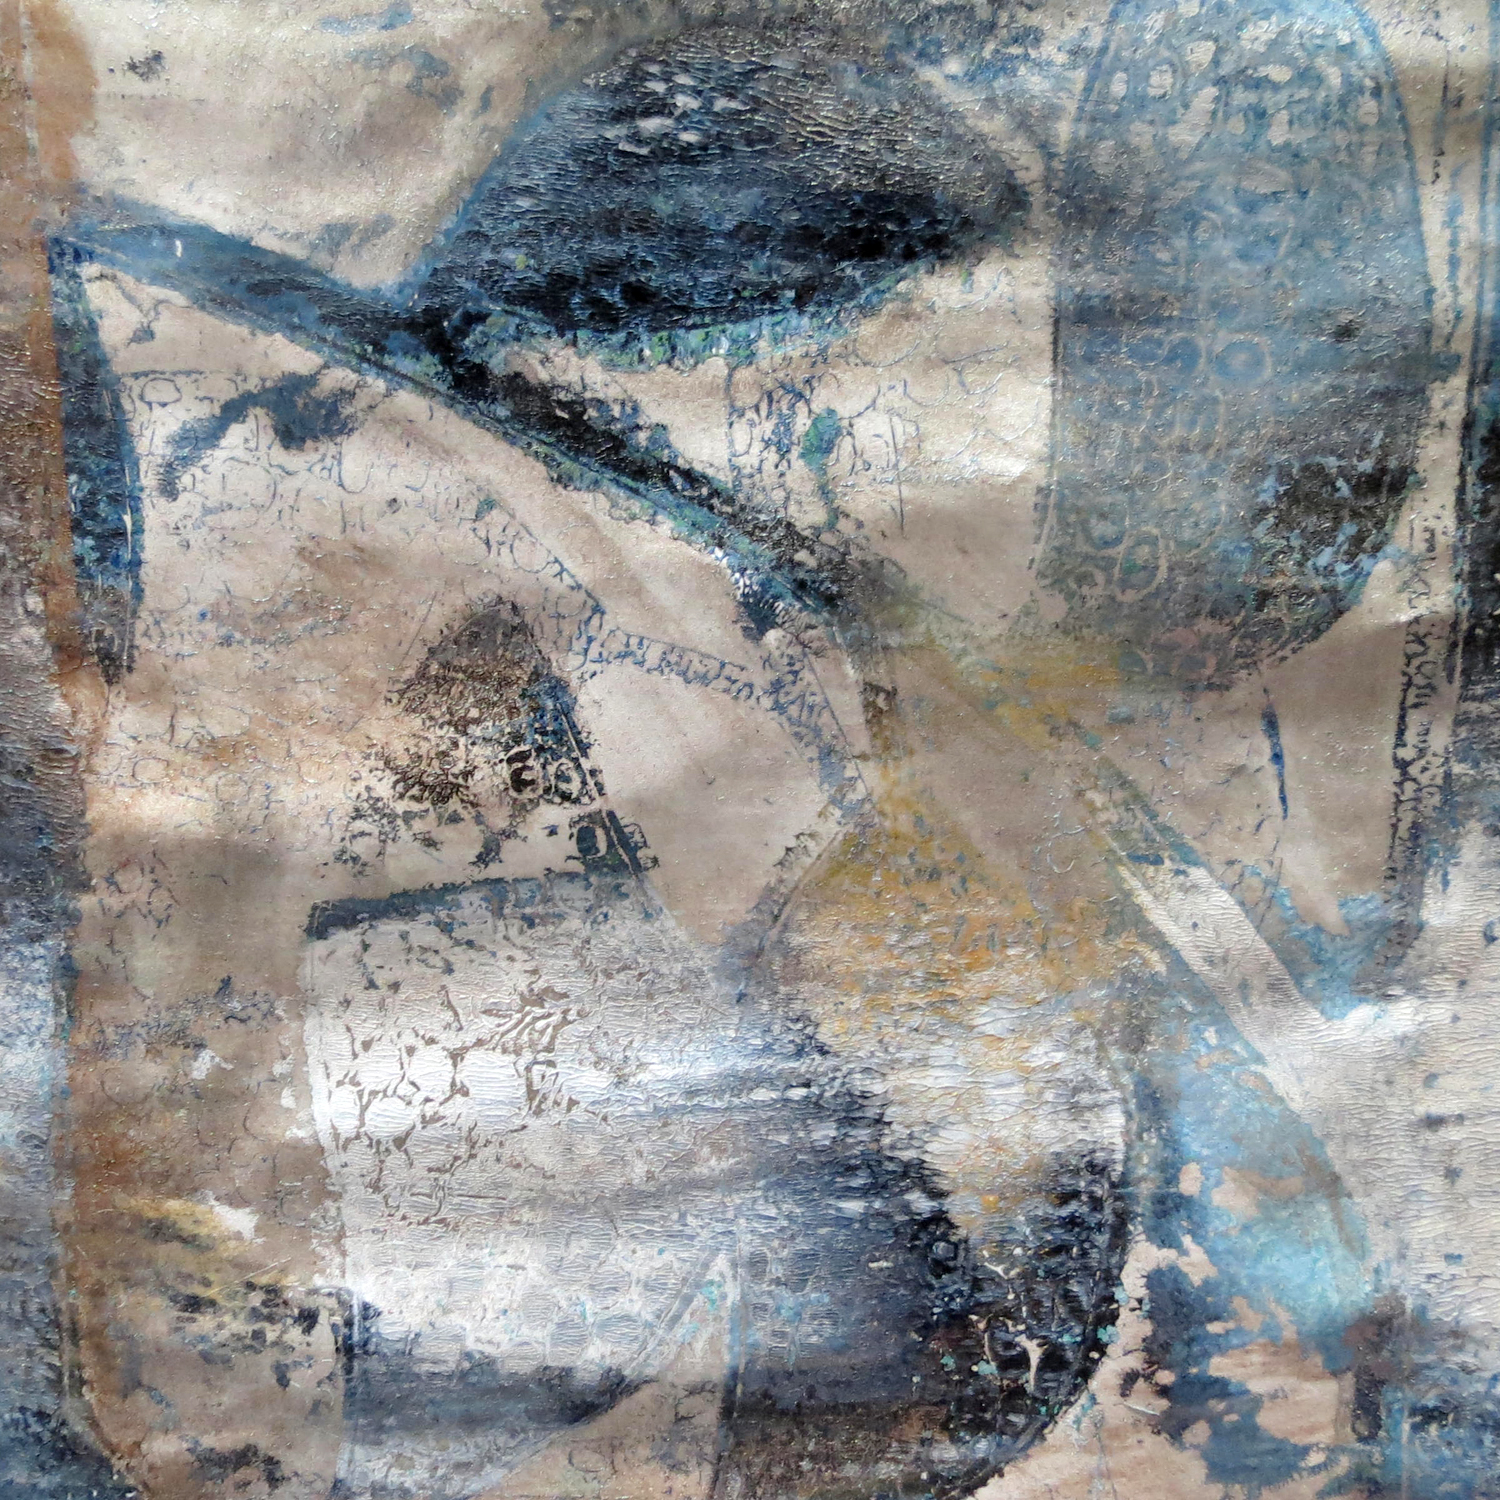
I created a simple collaged base using pieces of old artwork torn up and randomly placed.
Then I chose to use matt medium gel as my drawing ground which I applied in several thick layers over the top of the collage. I cut it up into six pieces ...


some details from three of the pieces

Next I applied a little shimmering copper acrylic and then more gel so that my drawing ground was ready to take paint, pencil and oil pastel, etc.  I added a few loose mussel shell shapes using different media.


collage with cut up prints, bubble wrap, acrylics, shimmering copper acrylics

Golden matte medium gel, drawing and painting mussel shells with acrylics and watercolour


printed papers, gel medium, copper shimmer acrylics, more gel medium, mussel shell painted with acrylics and watercolour pencils


collage with vintage baby in a bunny outfit, papers, artwork, gel medium, acrylics and salt


mixed media collage with printed papers, cut up artwork, silk, chiffon, metal foil, vintage sewing paper, acrylics and matt medium gel then using a watercolour wash to fill in


detail - collage using prints from week 1 of the Surface Treatment Workshop as well as metal foil, silk, sellotape transfer and vintage sewing paper


detail - collaged prints

mark making with sellotape transfer, acrylics and watercolour wash with salt


collage, prints, gold chiffon, silver foil, hand dyed silk,
painted bubble wrap, copper shimmer acrylic, matt medium gel and mussel shells in watercolour pencil


mussel shell texture with salt


collage with bits of tag from last week's STW, monoprints and sewing paper
mussel shells in watercolour pencil and scratched into


waxy textured tag, copper shimmer, sewing paper and sequin

That's the six little square pieces done … albeit a little curly around the edges … but they will flatten out when I glue them in my dedicated STW sketchbook.

Finally, I had a tag left over from last week so I applied some gelli printed tissue paper over the tag
then covered with Golden matt medium gel as a drawing ground.  Next I added some white paint, then, when dry, I practised a little freeing up exercise

"four bottles"


Loosely drawing using crayon, oil pastel and artist pen with my left hand looking at objects instead of the artwork


Mark making with oil pastel and artist pen

Evelyn and I are both looking forward to week 12 of the Surface Treatment Workshop.  We will be playing with gold leaf and I always enjoy a bit of bling!

Thank you for reading and happy weekend x

Thursday, 20 April 2017

Surface Treatment Workshop - weeks 7 and 10

I got a little behind with the Surface Treatment Workshop last week

I did work on various samples but struggled with my fibro, headaches and asthma
and generally felt under the weather through exhaustion from preparing for Stitch St. Ives

it meant such a lot to me to be able to take part in the show and to meet people
and afterwards I felt I was ok at first but it caught up with me ... so I had to give in and rest

if you follow along ... you will be used to me disappearing without warning now and again
but it is my intention to push through it this year and get back to a working routine in my studio
and this project - The Surface Treatment Workshop - has really helped me
to get in the studio, to develop my art practice and work with new products


we also got a little out of sequence
because, sometimes, we have to order new products in specially
and have to wait for them to turn up in the mail
so you may have noticed that we skipped to week 8 to work with gesso
while we were waiting for gels and fiber paste to arrive

for these samples we decided to combine week 7 (gels)
with week 10 (making our own speciality gels)
as a lot of the prompts for gels were quite similar

and as there were quite a few ideas for using gels I decided to work smaller samples
and created a series of hand made tags to help me contain them


for the tag below I used Golden medium gel mixed with a little gold acrylic paint
to embed tissue paper and paper lace onto a collaged background

I covered the collaged tag with quite a thick layer of transparent matte gel
and added pressed flowers into the gel

the gel acts like a glue and a sealer in one
and after using it to secure placed paper or objects
the excess gel medium can be wiped away for a neat finish

it was a particularly good product to use with the delicate flower petals


you can see I have applied the gel really thickly on the tag / sample below
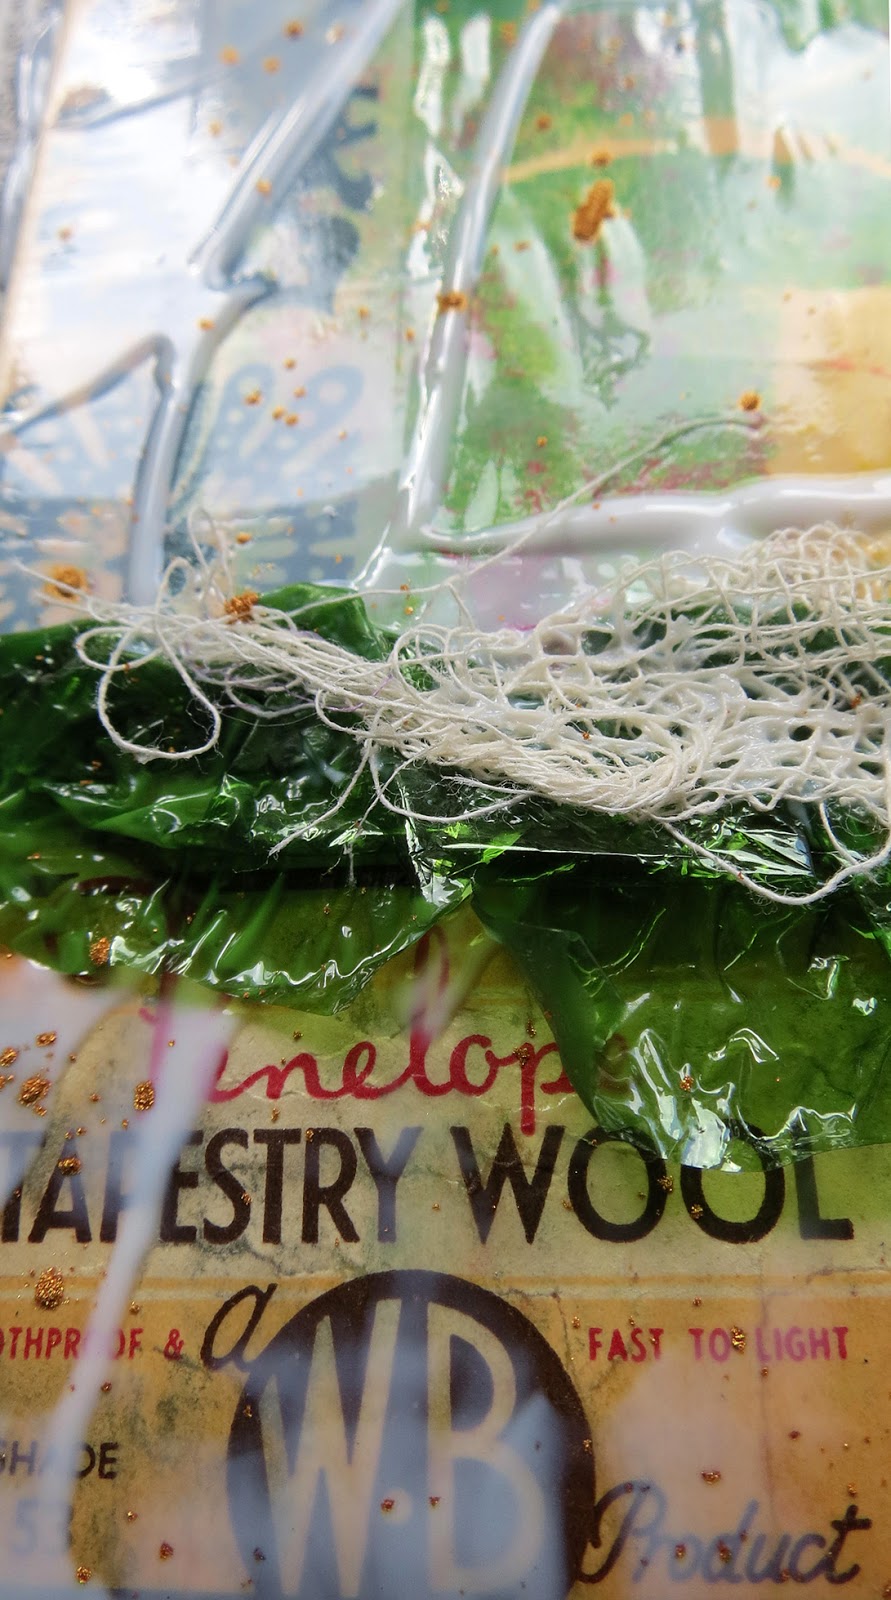
using the gel to adhere a green sweetie wrapper and some scrim

I also used the gel to collage a tapestry yarn wrapper
and sprinkled gold mica powder into the wet gel


the gel dried transparent and then I added a pressed flower
and you can just make out subtle hints of shimmery mica on top of the tag

I also discovered that gels over collage (when dried)
make excellent drawing grounds with pencil or artist pen
but we cover drawing grounds next week ... so more on that another time ...


gels can be mixed with paints for colour
and thick molding pastes for extra texture (below)

and here I'm using up excess paint from my palette
mixed into the gel for my tag backgrounds

I used a palette knife to apply the paint and gel

feathers embed in gel quite easily and lay nice and flat
and I added an extra layer of gel to seal ... so I could paint over if I wanted ...
now moving on to speciality gels ...

these are really just shop bought textured gels or
hand made gels made by adding "bits" to the gel to create texture

this one below is broken egg shell pieces stuck down with lots of gel
and I also used fine sawdust for one sample


this is Golden glass bead gel below ... a rather fun product to try
Golden glass bead gel looks like quite a runny white / semi-transparent paste
which can be applied as thickly or thinly as you wish ...

it has tiny little glass beads already mixed in ...


as the gel dries it turns transparent but with a sort of wet look
which really enhances the shimmery little glass beads

before it dried out ... I sprinkled mica powder into the gel
and, because it is basically a glue, I embedded a shell and a little piece of lace


in summary I would say gels are a lot of fun to play with
and are useful for layering and acting as a glue and a sealer in one
that's not to say that there may be cheaper products out there that are just as efficient

also this week ... I got some transparent Powertex liquid to play with


it's basically a product that stiffens and hardens fabrics and threads
so that they can be moulded and sculpted into vessels or art forms

I've had my first play with it and created a small bowl
(which, I have to say, I'm not enamoured with)
and I'm not sure I'm all that keen on the smell of Powertex either
but that may be muted when the vessel is painted

however, I have also applied it to this piece of metallic lace
which did interest me greatly for the project I have in mind

I'm looking for a lacy fine art texture with distressed holes and threads
to which I can add some stitched barnacles and/or seaweed for vessels for exhibition


next up ... I will share week 9 - fiber paste samples (by way of catch up)
Evelyn has already posted hers if you would like to see
then we are back on track again

thank you for following along
with the Surface Treatment Workshop

Sunday, 5 March 2017

sticky stuff ...

after struggling with the sticky stuff for last Wednesday's masking tape samples
I was encouraged to try again thanks to the lovely comments and suggestions
of my readers, in particular Mary Anne and (Mr/Mrs) Anonymous
and the inspiring samples my sister Evelyn produced


rather than paint a background in only one colour
Evelyn used the masking tape technique over some printed / stencilled pieces
so ... inspired by this ... I dug out a couple of mine to try again

this is my print ...
and I've coloured in areas with mica to create a more solid background


(Mr/Mrs) Anonymous's tip of de-tacking the tape was a great one
(duh ... why didn't I think of that!)

I stuck the tape a few times on my white t shirt to remove some of the sticky
then loosely stuck the tape on my print in random "x" patterns
then lightly sponged white paint over so I could still see the print coming through ...


my sister suggested that I don't leave the tape on too long
so I gave it a quick zap with the heat gun and then peeled off the tape
to reveal this more abstract kind of subtle effect


some close ups ...


this is what I did with the bits I peeled off ...


I created a mini collage with vintage dressmaking pattern pieces
and bits from a 1960s magazine and painted round them with mica
the I stuck the peely bits down on top in more "x" patterns

bits of the tape lifted off magazine text (reversed) which was interesting
and to finish I added silver foil


one more sample below ...

(I'm glad I took photos of the original prints
because this moment in art gets lost otherwise)


so again, I dug out an earlier print and added mica and acrylics


stuck the masking tape down in random "x" patterns
and this time sponged on the white paint more thickly this time


I used my heat gun to help it along a bit
and then peeled off the masking tape to reveal the "x" patterns

so thank you for helping me with your suggestions my dear readers ...
I now feel happier for persevering and creating these samples


back in my comfort zone ... I created this little moment in art
using an old photo that I have in my collection and recently gathered treasure

seaweed with barnacles and blue string from Marazion
shells from St. Ives and an oyster shell from The Coastguard in Mousehole
(all sweet memories with my man)


the words come from a childhood poem ...

when I was down beside the sea
a wooden spade they gave to me
to dig the sandy shore

my holes were hollow like a cup
in every hole the sea came up
till it could hold no more

~Fred Wilde~
I'm pleased to say I have finally decided on my focus for St. Ives Textiles

I'm going with pebbles and other beach finds for our theme of "Cornwall"
and have a wealth of ideas I'd like to pursue

this will naturally mean visits to all my favourite local beaches
I hope you might enjoy glimpses along the way ...
St. Ives Textiles

will be exhibiting at Porthmeor Studios, Back Road West, St. Ives
during the St. Ives September Festival
(9 - 16 September 2017)

***

I will be back on Wednesday with crackle paste samples
for week 5 of The Surface Treatment Workshop

thanks again for reading and for your kind encouragement x