"I begin with an idea ... and then it becomes something else"
~ Picasso

Showing posts with label Lace. Show all posts

Wednesday, 12 July 2017

Surface Treatment Workshop - week 19

This week's workshop was about embossing.  I tried out Liquitex gloss gel, Golden molding paste and my favourite Daler texture paste.  It's always interesting to see how the products perform and compare.

I will share the Liquitex gloss gel first.  This is the product I used to make the "skins" a couple of weeks ago (it's a white gel medium that dries clear).  I spread it over two background pieces and left for about ten minutes each until the gel had just started to thicken and skin over.

On the first piece I pressed a piece of scrim into the gel to leave a pattern and then left it to dry again properly.  Once dry, acrylic paints and mica powders painted on top enhance the pattern.


Below, the same again but with a finer mesh pressed into the gel and then painted with paynes grey, black, shimmery silver and mink mica powders.


This was a really good product for embossing texture.  It worked so well that it was almost like I had applied a real scrim to the texture and embossing is most definitely the very next best thing.

The other really good property of Liquitex gloss gel is that, as it dries clear, layers beneath clearly show through.  I put this to the test on top of one of my prints from week 18.  I had originally monoprinted and then over printed with roller and bands.  So, on top of that I applied the gel and left for ten minutes to set, then pressed a piece of Carn pottery into the gel.  Lifted off the pottery piece, let the collage dry.  I didn't paint over the top because I liked the textured pattern with the collage showing through.
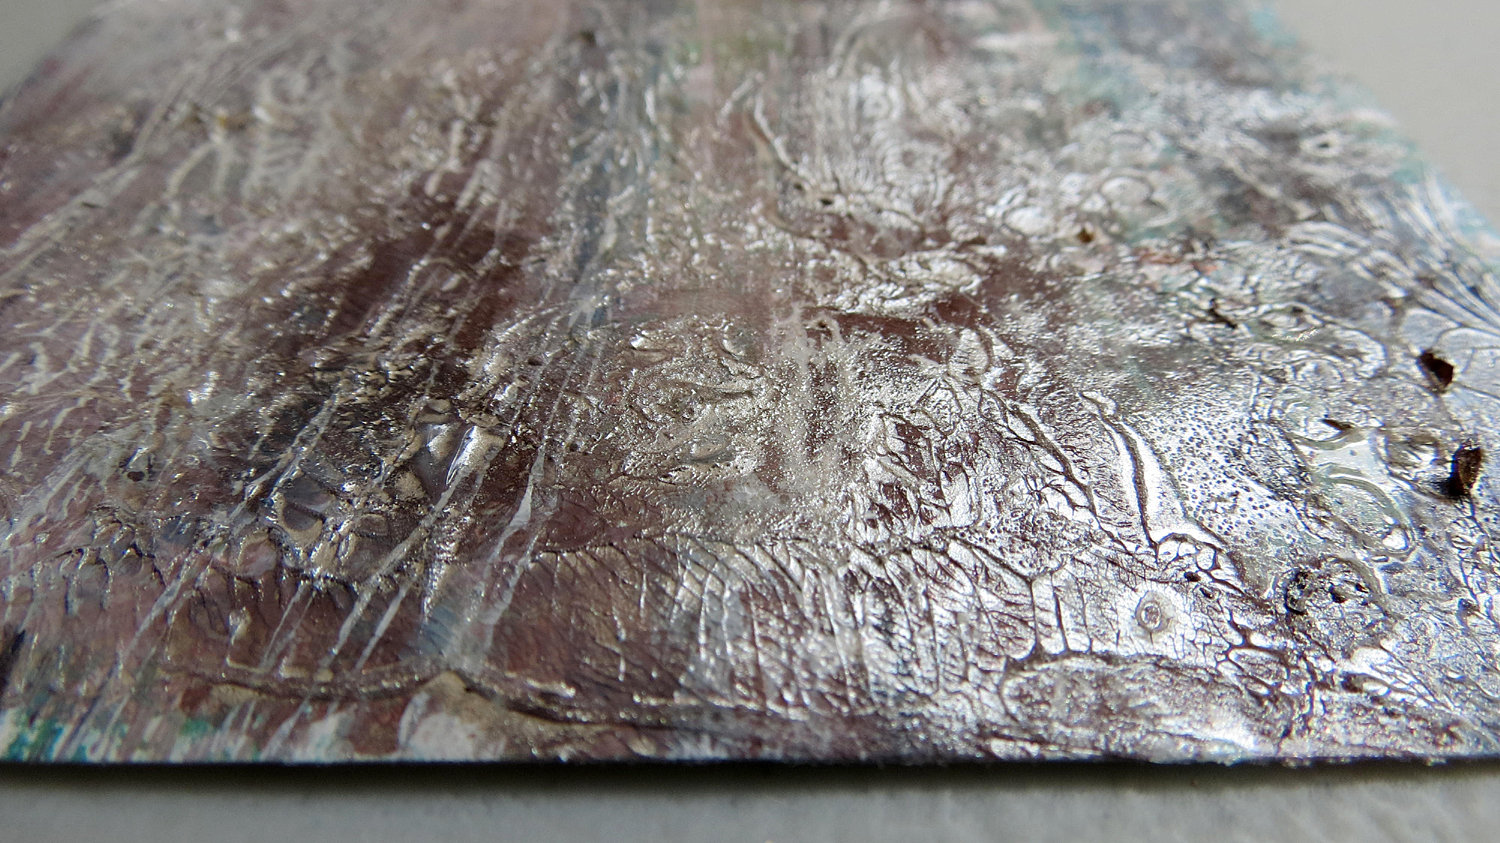


This is Golden molding paste.  Same as the gel above, it has to be applied and then left to almost set before textures can be pressed into the paste.


I pressed some pottery patterns into the paste and also etched some lines then heated with a heat gun before painting with pale blue and gold mica powders.  It made some lovely texture.


One more piece with the molding paste ... embossed, etched and then heated with a heat gun.


This one below is Daler texture paste embossed with lace and is probably my favourite.  On the left I used some soft cotton with a small patterned broderie anglaise edge and on the right some gold metallic lace with a larger lace patterned area.


Lots of potential with this technique for working on canvas, paper or fabric.  The next prompt is "glazes and final finishes" and I'm eagerly awaiting Evelyn’s update for weeks 18 and 19.  Her ideas are always interesting.

Meanwhile, I will be continuing with my new passion of eco dyeing, particularly on paper.  I had a go yesterday with moderate success, so will press on with experiments.  So far, I am getting strong blues and purples, some greens and browns.  I would really like to see some natural yellow, orange or pink coming through.

my first eco print on paper

Also, working hard on my Cornwall themed textiles which I'm not quite ready to share yet but I will be updating the website and facebook page generally for St. Ives Textiles very shortly.

Thank you for dropping by today x

Thursday, 20 April 2017

Surface Treatment Workshop - weeks 7 and 10

I got a little behind with the Surface Treatment Workshop last week

I did work on various samples but struggled with my fibro, headaches and asthma
and generally felt under the weather through exhaustion from preparing for Stitch St. Ives

it meant such a lot to me to be able to take part in the show and to meet people
and afterwards I felt I was ok at first but it caught up with me ... so I had to give in and rest

if you follow along ... you will be used to me disappearing without warning now and again
but it is my intention to push through it this year and get back to a working routine in my studio
and this project - The Surface Treatment Workshop - has really helped me
to get in the studio, to develop my art practice and work with new products


we also got a little out of sequence
because, sometimes, we have to order new products in specially
and have to wait for them to turn up in the mail
so you may have noticed that we skipped to week 8 to work with gesso
while we were waiting for gels and fiber paste to arrive

for these samples we decided to combine week 7 (gels)
with week 10 (making our own speciality gels)
as a lot of the prompts for gels were quite similar

and as there were quite a few ideas for using gels I decided to work smaller samples
and created a series of hand made tags to help me contain them


for the tag below I used Golden medium gel mixed with a little gold acrylic paint
to embed tissue paper and paper lace onto a collaged background

I covered the collaged tag with quite a thick layer of transparent matte gel
and added pressed flowers into the gel

the gel acts like a glue and a sealer in one
and after using it to secure placed paper or objects
the excess gel medium can be wiped away for a neat finish

it was a particularly good product to use with the delicate flower petals


you can see I have applied the gel really thickly on the tag / sample below
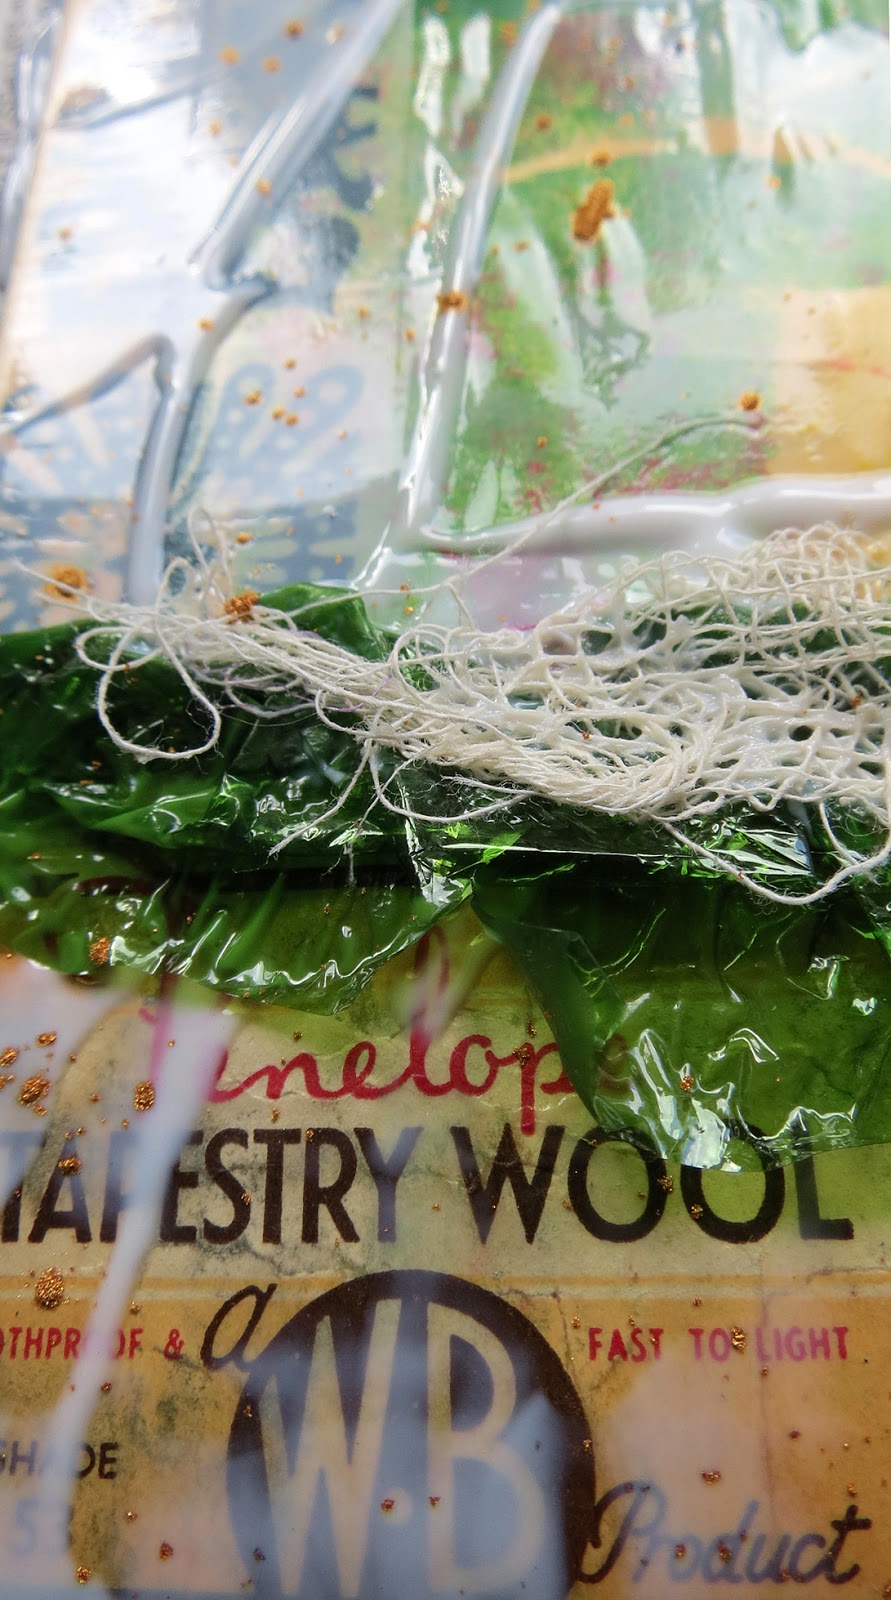
using the gel to adhere a green sweetie wrapper and some scrim

I also used the gel to collage a tapestry yarn wrapper
and sprinkled gold mica powder into the wet gel


the gel dried transparent and then I added a pressed flower
and you can just make out subtle hints of shimmery mica on top of the tag

I also discovered that gels over collage (when dried)
make excellent drawing grounds with pencil or artist pen
but we cover drawing grounds next week ... so more on that another time ...


gels can be mixed with paints for colour
and thick molding pastes for extra texture (below)

and here I'm using up excess paint from my palette
mixed into the gel for my tag backgrounds

I used a palette knife to apply the paint and gel

feathers embed in gel quite easily and lay nice and flat
and I added an extra layer of gel to seal ... so I could paint over if I wanted ...
now moving on to speciality gels ...

these are really just shop bought textured gels or
hand made gels made by adding "bits" to the gel to create texture

this one below is broken egg shell pieces stuck down with lots of gel
and I also used fine sawdust for one sample


this is Golden glass bead gel below ... a rather fun product to try
Golden glass bead gel looks like quite a runny white / semi-transparent paste
which can be applied as thickly or thinly as you wish ...

it has tiny little glass beads already mixed in ...


as the gel dries it turns transparent but with a sort of wet look
which really enhances the shimmery little glass beads

before it dried out ... I sprinkled mica powder into the gel
and, because it is basically a glue, I embedded a shell and a little piece of lace


in summary I would say gels are a lot of fun to play with
and are useful for layering and acting as a glue and a sealer in one
that's not to say that there may be cheaper products out there that are just as efficient

also this week ... I got some transparent Powertex liquid to play with


it's basically a product that stiffens and hardens fabrics and threads
so that they can be moulded and sculpted into vessels or art forms

I've had my first play with it and created a small bowl
(which, I have to say, I'm not enamoured with)
and I'm not sure I'm all that keen on the smell of Powertex either
but that may be muted when the vessel is painted

however, I have also applied it to this piece of metallic lace
which did interest me greatly for the project I have in mind

I'm looking for a lacy fine art texture with distressed holes and threads
to which I can add some stitched barnacles and/or seaweed for vessels for exhibition


next up ... I will share week 9 - fiber paste samples (by way of catch up)
Evelyn has already posted hers if you would like to see
then we are back on track again

thank you for following along
with the Surface Treatment Workshop

Monday, 2 February 2015

the allotment hedgerow

over the top of the allotment hedgerow
you might catch a glimpse of beaded seedy things
amongst the chiffon grassy things


on top of layers of chiffon I've used fly stitches with beads
and the corner of the field is bordered with metallic lace
which is now tarnished and dark with age ... just how I like it
 
I've secured the lace with some invisible stitches in gold thread


you might also find some "sluggy" type things
 
they came about by painting and gilding on top of small pressed pleats in the fabric
I added some gold metallic beads which then made them look a bit slug like
... a bit like "Sid the Sloth" from Ice Age ;o)
so this turned into a happy piece that makes me smile


fabrics, paints, gilding flakes, a few more "emeralds"
layered fraying chiffons, running stitches, fly stitches, beads and metallic lace

this one reminds me so much of the fields and landscapes
along my  favourite coast road between St. Ives and St. Just
 
the fields stretch out to meet the sea and sky
 
 
and the cows come up to have a nose and greet you
they like to slobber on bags and cameras too, if you're not careful!
 
 
these fields and dry stone walls are further along the coast road near Geevor
it's a place I like to go blackberry picking in autumn
 
 
the horses like to get up close and personal too ...
 
 
hello ... a moo from Morvah and a neigh from Geevor ♥
 
St. Ives bay this morning ...
 
 
the skies were very stormy over Hayle and Godrevy way
but brighter over the town ...
 
 
I had a great morning with St. Ives Textiles
and afterwards enjoyed a pasty in the harbour with friend Margaret
looking out over this view
 
I call it "linen clouds"
 

 tomorrow ... "the pumpkin patch"

Monday, 25 March 2013

first steps back

the first few steps to achieving most things are often the hardest
but they begin by putting one foot firmly in front of the other
and trusting that you are going in the right direction
and, more importantly, for the right reasons

I took those (very difficult) first few steps back in January
by deciding that I wanted to write on my blog again
 

I was away from my blogs for a very long time ... 

I now realise, in hindsight, that I was still getting over
some family things and I believe that, subconsciously,
I was also aware of the deteriorating health of my darling Daddy
who passed away in December 2012

I don't want to go into it all here ...
it's all too painful ... and always will be
but I acknowledge the past few months have been difficult
and now I'm trying to get back to many of my art projects
that were shelved ...but not abandoned


it's very true ...
that spending time creatively can help the healing process
time to lose oneself in an all consuming project or
quiet time to think and process thoughts and feelings

so ... I've been doing just that ...
at my own pace ...

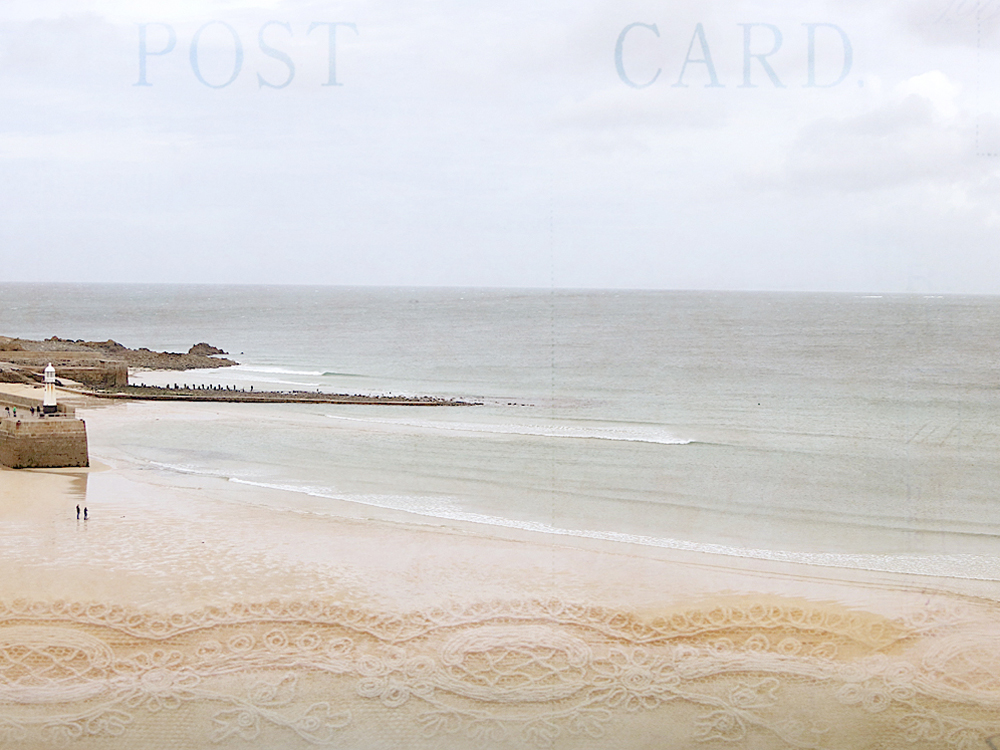
walking on the beach ...
playing with textures on my own photos ...
pushing the pieces around for a still life shot ...

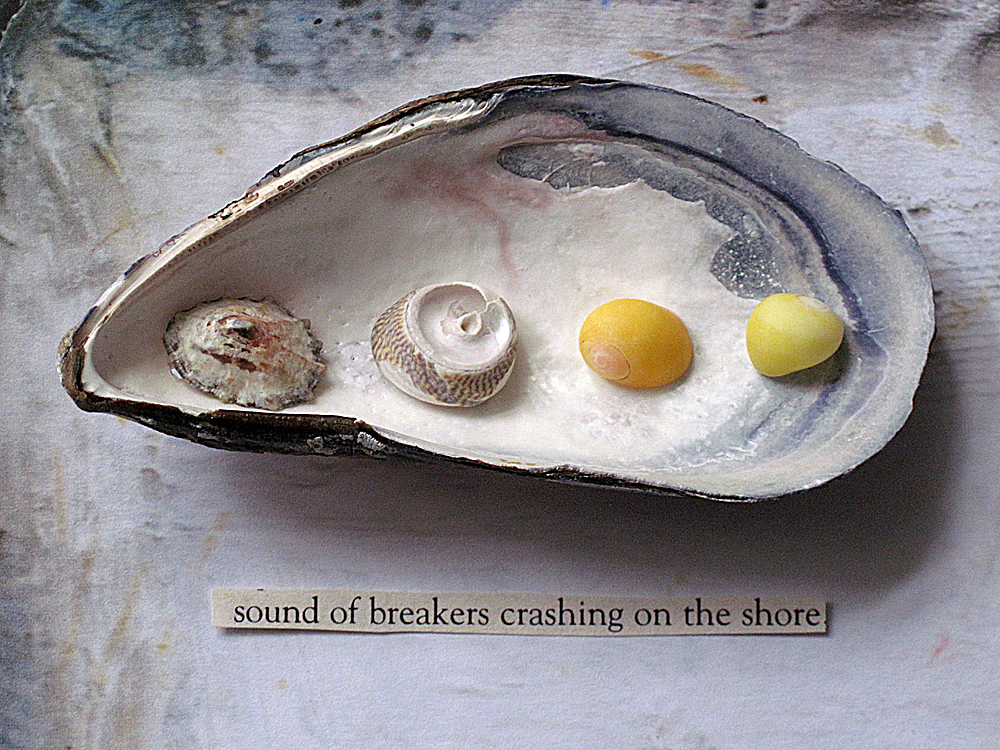
posing tiny little shells ...


enjoying joyful yellow flowers ...
with subtle scents of spring ...


finding inspiration from beautiful words ...


 high above ... the clouds parted for an instant
and a watery gleam of sunshine broke through
the wet streets threw back the reflection of this light
and stone and slate were washed in gold           

anticipating springtime in mosaics ...

discovering a clump of snowdrops on a wintry walk  ...


 enjoying the sprinkling of snow we had
on the Cornish cottage rooftops in January ...


and enjoying new challenges and ways of looking at things

one word wednesday jar project

an inspirational photographic group that looks at refraction,
reflection, distortion, opacity, light, bokeh, colours, textures
and subject matter through the medium of a glass jar or vessel ...
with focus on a title containing only one word

week 1 of the jar project
23 January 2013


we are now on week 9
and I will share some of my jar photos here in coming weeks

I'm finding it such a joyful project

inspired by the snow and ice we had in January
I made a crystal snowflake to go in my first jar photo
I love the refraction through the glass and the pebbles behind


also in snowy January ... I had a lovely day with my friend Jo
she took me over to Sally Snape's shop at Perranarworthal
a most wonderful patchwork/fabric emporium


where I indulged in a little retail therapy


I can justify most of these purchases as they will be used for work I'm producing
for an exhibition of textiles in St. Ives in Autumn 2014 ...
yes ... I've started early for once!!

beautiful lace and soft pastel linens


fabrics with seedheads and starry shaped notions


these are a few of my favourite things

and if you can get down for my show in 2014
you will see that these tones all fit in nicely with my sketchbooks
on a seed pod and seed head theme
 

other "extravagancies" included beautiful batik fabrics
in shades of wintry moon and ocean blues


 ... and lunch at The Olive Grove
where Jo and I exchanged gifts and had a very lovely time
pottering round the nurseries ... looking for snowdrops


in January the moon was beautiful ...

I captured it ...

and printed it ... and made a card

I was amazed when it received 240 "faves" on flickr (thank you)
 

I love moons and mussels
in that particular shade of denim blue ...


moons and mussels


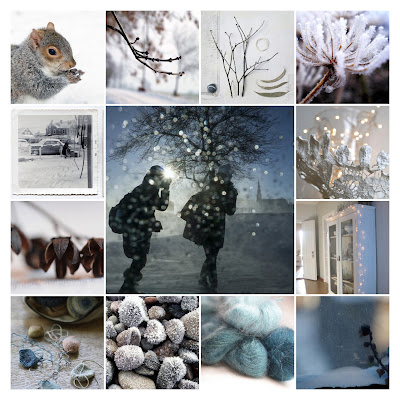
and curating beautiful mosaics ...
those winter blues


more misty blues ...


and during very cold weather I love to make these ...
they are so pretty ... I have them hanging all year round ...
to enjoy their sparkle and reflections

snowflakes

 well ... this is all for now
as I say ... it's a start
 and life is "full on" at the moment
with making for my shop and the other projects I'm working on
not to mention my show later this year

"sew ... a needle pulling thread ..."
so there will be a bit more on that later

thank you for visiting x