yesterday I attended a cyanotype printing workshop at The Exchange Gallery in Penzance
it was inspired by the work in Joy Gregory's exhibition called "Lost Languages and other Voices"
incorporating "Objects of Beauty" and "The Handbag Project"
I've sun printed before but on this workshop I learnt so much more about the chemical process
of using potassium ferricyanide and ammonium citrate, timing with UV light and wash
and understand how this process can be used on fabrics as well as harder surfaces

I will share more on this another time

this week it was fun working with gesso for week 8 of the Surface Treatment Workshop
an interesting material that I am used to using but enjoyed exploring further
it's mainly used as a primer for preparing canvases for paint
but can also be used as a resist, to cover work and to add texture for mark making

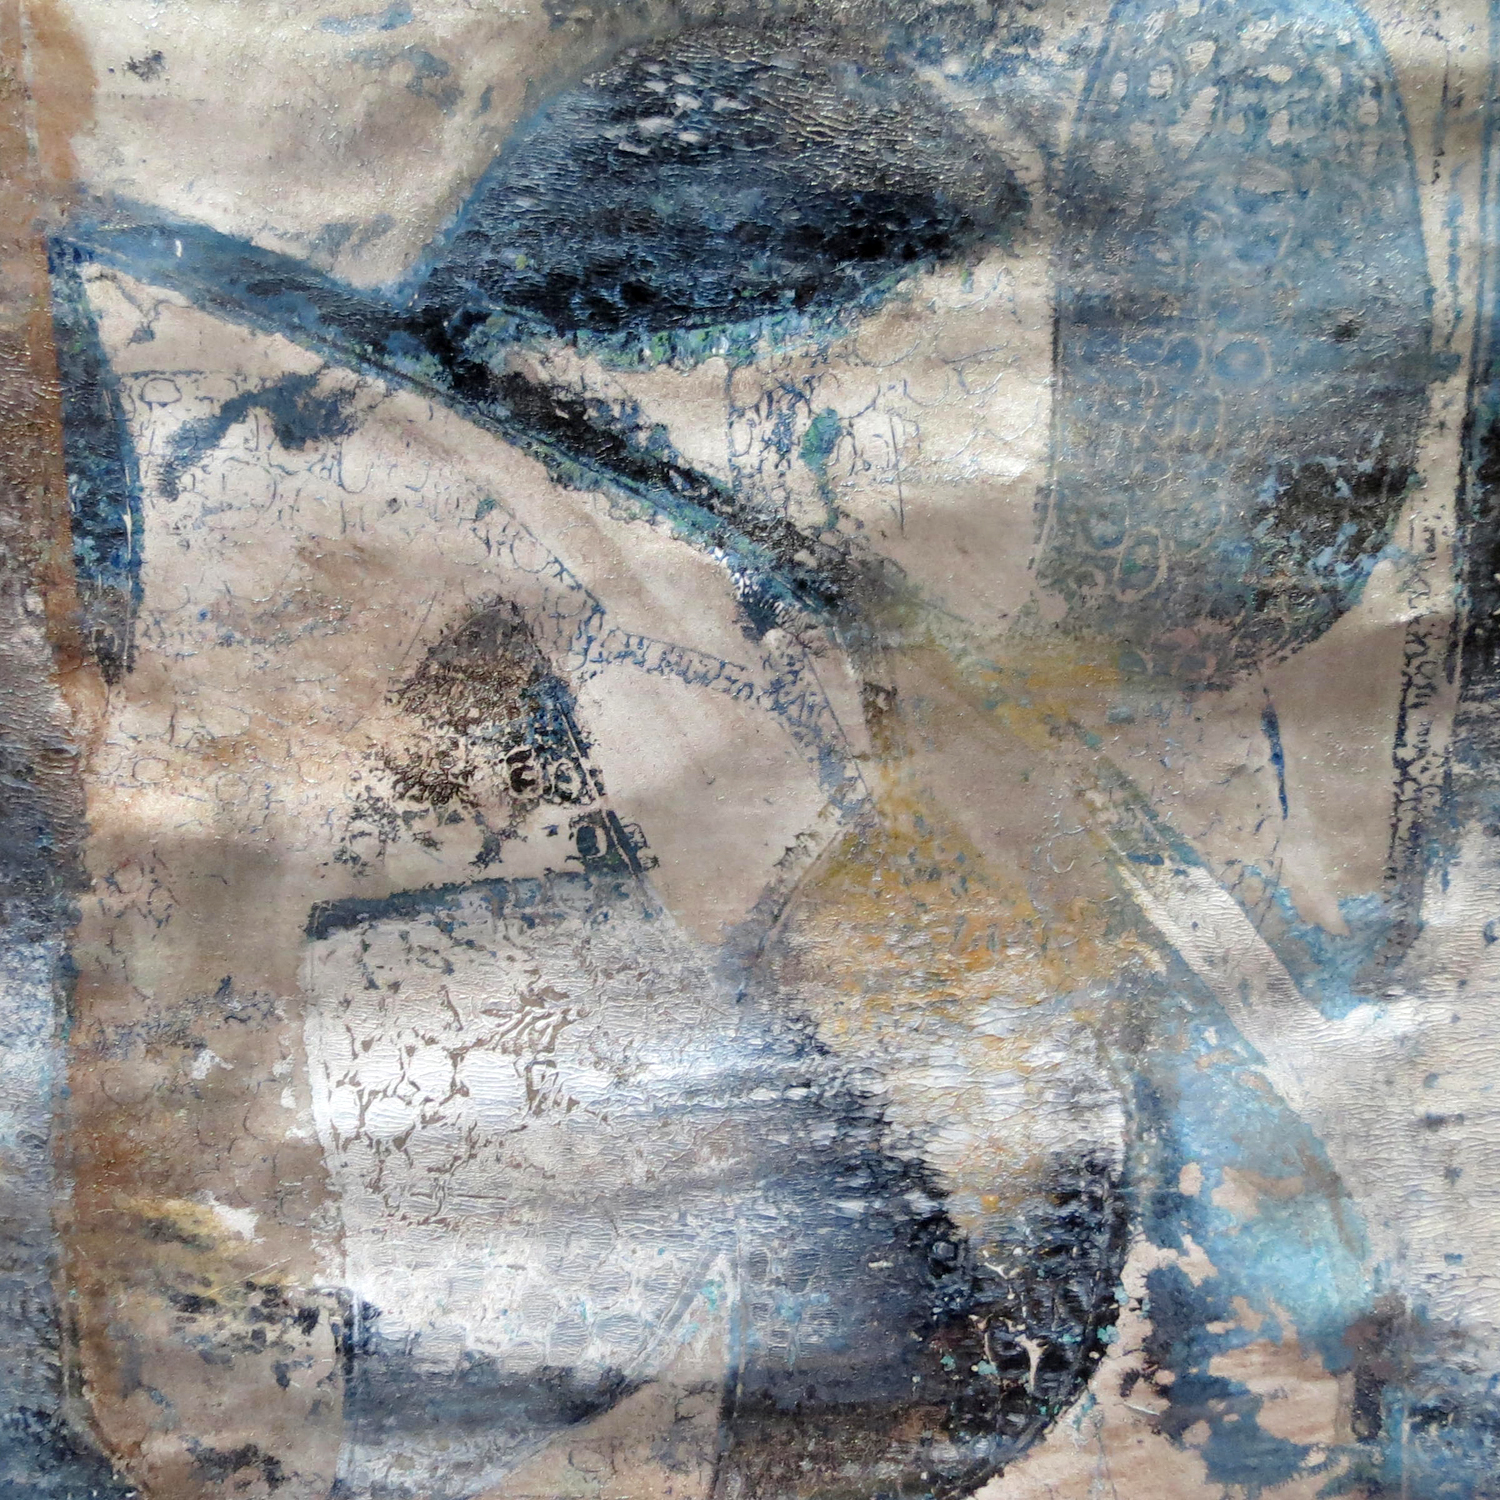
this is white gesso over a monoprint I made with metallic acrylics
and mark making with my palette knife

over the years I've discovered that there are many different qualities of gesso and
for a high quality piece of finished work I will still use the best gesso I can afford
but for some applications I am quite happy to use a cheaper gesso
to which I add a filling powder (such as very fine polyfilla)
to make it thicker depending on the application
for the blue sample above I used a thick textured gesso through a stencil
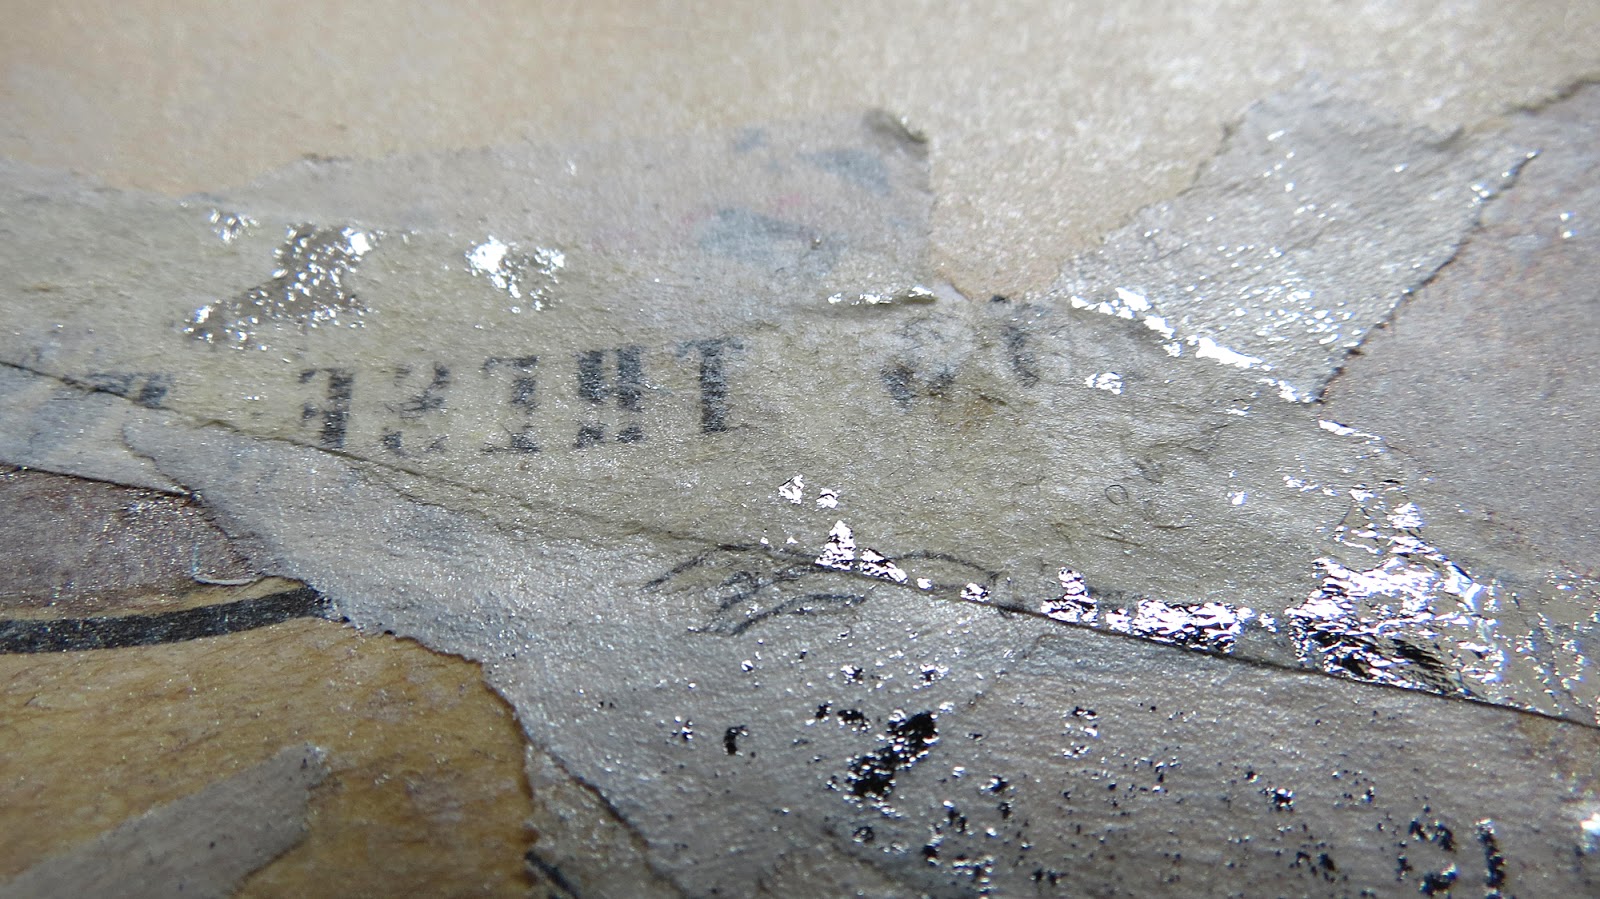
then added a watercolour wash and silver foil
I also discovered that oil pastels work very nicely into the texture as well (below)

making marks in thick textured gesso
(by applying the gesso with a Mr. Kipling cake box)
and colouring with yellow acrylic ink which has vibrant colour

for the sample below I used regular gesso through a stencil and when it was dry
I dragged in through three colours of watered down acrylics with salt crystals

in the sample below I used pieces of masking tape on the base
then embedded book binding pieces in the gesso for extra texture

after it was dry I painted with acrylics

a selection of uses below ...
scribing or mark making in wet gesso ... then painting when dry
using gesso to cover book pages, words or images
and embedding texture in gesso ... then paint

embedded texture ...

some of the prompts were to experiment with using black gesso as well as white
and colouring gesso for some applications so I experimented with some of my own recipes
as I didn't really want to buy an expensive pot of black gesso just for a few samples
the photo below was my first attempt at mixing a black gesso
it was my own recipe ...
I used some white gesso, polyfilla, black acrylic paint and black ink
and discovered that it made a grey ... not a black
the more black paint and ink I added ... just made it a darker grey

I did use the grey for some samples
but I wanted to persevere with creating a black gesso myself

this time I used pva glue mixed with polyfilla
(this made a very thick paste ... so added a little bit of water)
and then added black acrylic paint and black water based ink
this looked perfect and I experimented comparing the black to shop-bought white

I was really pleased with the "tooth" of the black gesso
which was only marginally grainier than the white
but the depth of colour was great
and mostly I was pleased that I had created it myself
so now I'm working with my own gessos for some applications
for white I will use pva glue, polyfilla and a little bit of water
and any colour/tint can be achieved by adding acrylics to the mix

so, all in all, gesso is a very versatile and useful product
once you have learnt about it's many properties and applications
and I will definitely experiment more with the embedding technique

also this week ... inspired by some time in Penzance and Newlyn
I created a new erosion bundle with lots of rust
and some papers which arrived in a paper swap
(from friend Heather Harker)

I put something rusted between every other layer of paper and fabric
and added some water, paints and mica in there as well ... just to help it along
I also added some skeleton leaves and mussel shells ... coloured with turmeric

the turmeric mixed with watery blues to resemble beach streams

the bundle is now at the bottom of the garden amongst the forget me nots
so I'm looking forward to opening that up in a few months time
and from now on I will be making a new bundle every month for the rest of the year ...
 |
| beautiful St. Ives |
on Monday I met at the studio with St. Ives Textiles
I've just posted some work from the group on the website
and will be updating it again soon with work from the other members
our work for the Cornwall theme is very exciting this year
I've made a small start on my own Cornwall themed textile work for exhibition
and have also made a start in my sketchbook for the show
but I will share later on (probably June) when I have more of a body of work
quite a bit going on at the moment with workshops, the surface design project,
invitations to create work for other exhibitions and Stitch St. Ives (supplies show)


on Monday I took some time out in the harbour for lunch
and photographed cobbles, boats, ropes and other little nuances of St. Ives


love that sky!

my little hand stitched St. Ives piece is coming on slowly
inspired by Cornish skies and St. Ives harbour colours
nice and slowly ...

finally ... I'm working hard getting ready for Stitch St. Ives
a supplies show in St. Ives that's on at the weekend - 8th and 9th April
creating lots of lovely textures, beads, hand dyed fabrics
and other fluffy and shiny textile bits etc.

I know it's a long way to come for a lot of you (sadly)
but I hope to get back to regular posting again once it's over
and hope to post the next lot of samples with speciality gels next week
thanks so much for reading my rambles x