"I begin with an idea ... and then it becomes something else"
~ Picasso

Showing posts with label Silk. Show all posts

Saturday, 29 February 2020

Cornwall colours and textures

We are almost done with February and I'm so glad to see the back of it.  Apart from one or two days it's been nothing but rain, hailstones, storms and news of Coronavirus spreading quickly round our beautiful Earth home!  And as I sit writing this now the rain is streaming down the window panes ...

I'm cosy indoors by the window looking through raindrops and I've had a lovely time going through photos, coming across work I had forgotten about.  At the moment, most of my art materials, fabrics, paints, sketchbooks and samples have been packed away in storage containers for over a year.  This house moving lark has been a long haul and I am going to be very excited to get it all out again.  No dates yet but soon - I hope!

I will have so many art projects and little works in progress to revisit.  So today I thought I would share some of the inspiration I find from my part of Cornwall, where I get my colours from and what inspires my textures.  I hope you may enjoy a few photos …


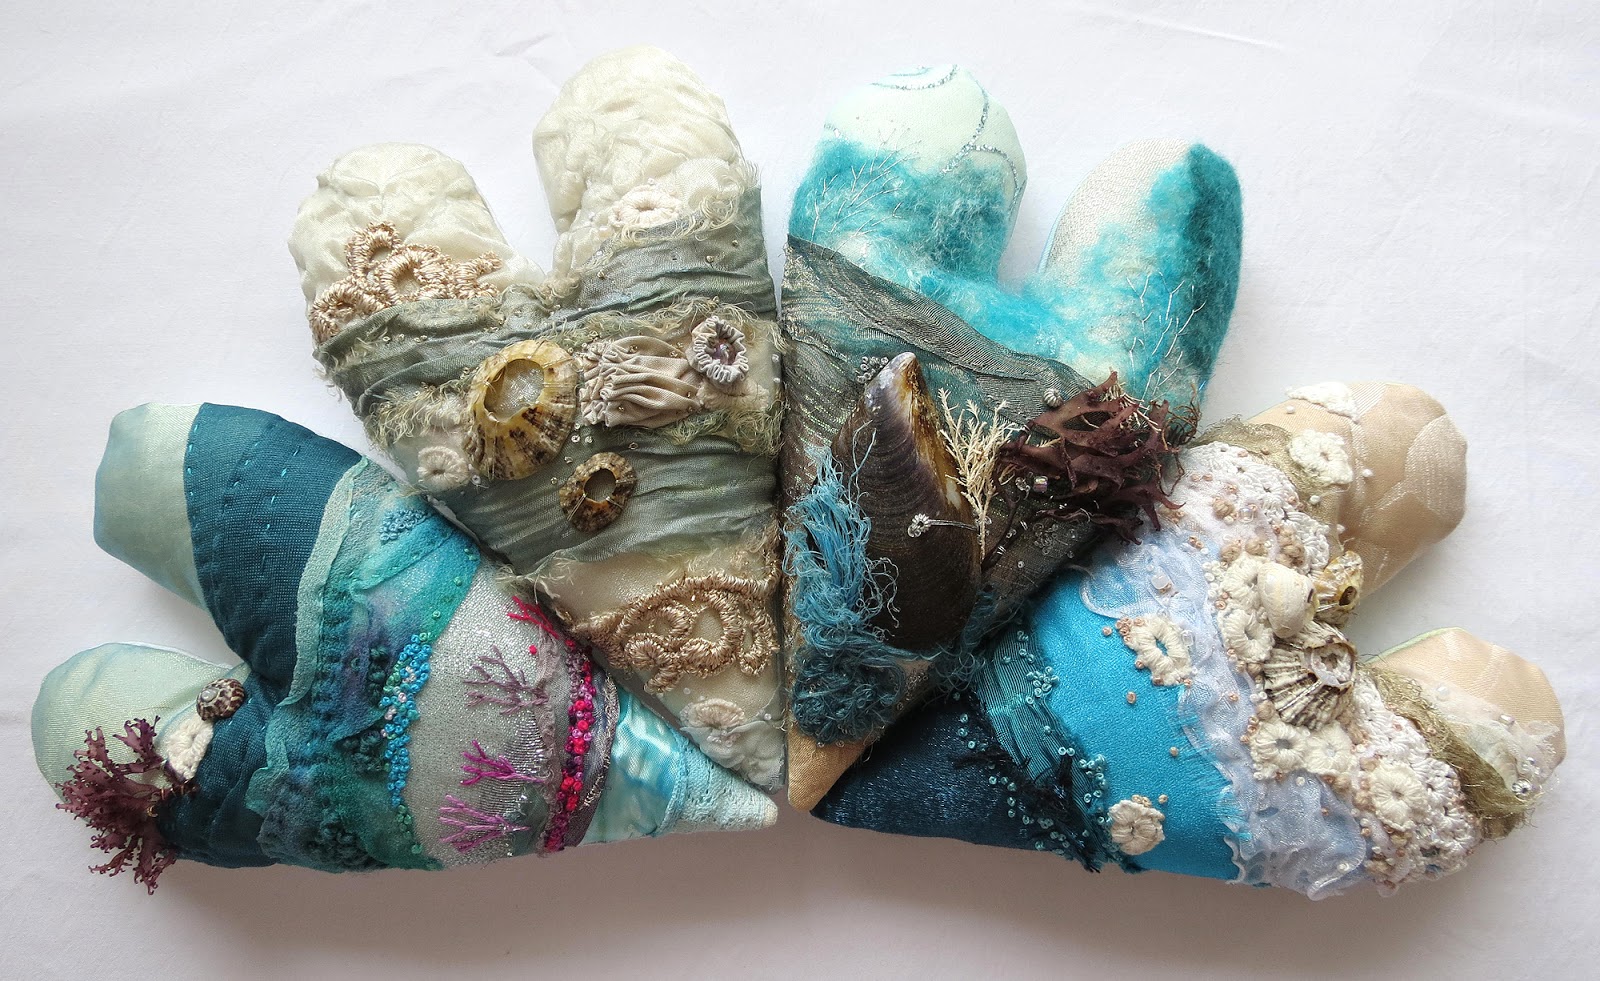
The last few photos are of recent textile work.  I've been enjoying working these very small hand stitched barnacles which I use with real shells, beads and little stitches on silk.  It's nice to be working on new things and I have more new work on my table which I hope to share soon.  Thank you for visiting me today.

Tuesday, 11 July 2017

Eco printing and dyeing with leaves on silk

I spent a wonderful afternoon among friends yesterday eco dyeing with Caro Beech at Hayle.  I have "dabbled" with this myself a teensy bit but I found yesterday's workshop invaluable and ... I am hooked!


It is the natural next step on from my experiments with natural dyes and erosion bundles.  Now, I want to combine this latest technique with the way I wrap erosion bundles, play with all the leaves and flowers in my garden and get back to natural dyeing again.

Caro was a most generous tutor and gave us each a box of goodies including very helpful instructions, gloves, water bath, a pot of rusty iron water, metal tube, pins, foil, a piece of habotai silk to practice on and a lovely finished edged silk scarf tied up with a beautiful pink silk ribbon (naturally dyed)


[I'm just writing this next bit to remind myself more than anything ... we soaked the silk in cold water (two thirds) mixed with some of the rusty water (one third).  The longer the fabric is left to soak the darker the colours achieved.  I left my silk pieces for about 15 mins and 30 mins.  Next step - squeeze the excess water from the silk and lay it out flat.  Arrange leaves and fold over the silk.  Use the foil to separate the layers and wrap tightly around the metal pipe.  Tie tightly to secure.  Steam for 45-60 mins.]


The hardest bit is being patient, keeping busy, while the eco roll is steaming away.  You just want to open it up and see what's magically happened to your leaves, what happy accidents have occurred, the alchemy, the serendipity ...

Eventually, you get to open it up ...


I was very happy with the results of my first proper attempt at this.  (I won't tell you about the disaster I had with my very first go a couple of years ago when I burnt through the silk!).  I'm so pleased with the beautiful natural colours of the leaves.

Needless to say, I've started yet another sketchbook about this process and have recorded my initial thoughts and plans.  Now there is a whole new world of eco dyeing and printing to learn about in my own way.  I already belong to several groups on facebook and read about other artists' discoveries, but there is nothing better than getting hands on and discovering for yourself the potential of this, or any, technique ... at one's own pace.

Caro has another workshop later in the year eco dyeing on paper.  If anything, this interests me more and I'm not sure I can wait till then.  I may have a little go myself with plants from my garden.  I've already purloined my kitchen steamer to the studio and literally cannot wait to get wrapping.  I have been admiring (for years!) the beautiful eco dyeing of my friend Monika Lamacka especially her work on paper.  This is what I would like to do too ... to create beautiful papers for use in my collages.  Take a look here at Monika's work and here are a couple of Caro's beautiful samples on paper


I'm off to my studio now ... but I will pop by tomorrow with the next instalment of the Surface Treatment Workshop - embossing.  Bye for now and have a happy week x

Thursday, 5 February 2015

the sunflower allotment

along with the emerald allotment ... I think the sunflower allotment is probably my favourite


and what I like about this project and each of these little allotment pieces
is that you can turn them around and they still look "right" (if you know what I mean)


there is so much joy in selecting fabrics, threads and paints to use
I honestly think there is no greater pleasure ...


I've selected distressed papers, melted fabrics, bits of chiffon and metallic sheers
there is some machine stitching (nothing fancy) and some french knots which I love to stitch
 
the threads I chose were shades of sunflower


there is shimmering light from the chiffons and burnished gilding flakes


layers on layers equal interesting texture


every French knot is worth the time invested ...

the sunflower allotment is my sixth and final piece in this little series
but I enjoyed stitching these so I am sure I will make more in the months ahead and
they will feature in The Crow Show at The Arts Club from 31st October - 15th November 2015
 
tomorrow ... I will list the materials | requirements for the tutorial
Saturday ... the tutorial

Wednesday, 4 February 2015

landscape lines and bees that like shiny

on this allotment there is obviously something that the bees are attracted to
perhaps it is the shiny gilding flakes
or that clump of orange woolly bush on the landscape


this is quite a close up shot of the gilding flakes on hand dyed silk
it hardly resembles silk at such close range ... but has a lovely sheen in "real life"


when layering up my base initially I used some paper from a magazine
that had a bee and a hive and these words by Albert Enstein
 
"in the middle of difficulty ... lies opportunity"


I had no preconception of how this little piece would turn out
I just added stitch and things as it felt right
 
as it turned out I like the landscape lines of stitch
with the three rows of running stitches ... matching the bee
 
I didn't plan it ... I noticed it afterwards


at the bottom I used daisy stitches in bronze metallic
to enhance the tones in the chiffons, silks and gilding flakes
 
stitches can be added to either enhance or disguise areas of work


tomorrow - a sunny corner ... the sunflower allotment
Friday ... materials for the tutorial
Saturday ... the tutorial

Sunday, 1 February 2015

the beekeeper's allotment

the beekeeper's allotment is naturally honey coloured
 
I used cellophane toffee wrappers, hand dyed silk and some metallic fabrics
and the other side of the beehive cross stitch with tiny little bees

 
on top of the silk I added some gold metallic paint and pressed another
piece of chiffon and some gilding flakes into the paint while it was still wet
 
I also added some of the gold paint on the blanket piece
and dotted lots of french knots across the piece
 
I used different shades of honey, beige, brown and gold for the knots
in this instance ... I think they look like little bees


I like using fabrics that have raw edges
and fabrics with pleats and tucks
 
along with the knots ... it adds a bit of texture so the piece is tactile


tomorrow ... "the allotment hedgerow"

Saturday, 31 January 2015

where emeralds grow

I've finished titivating the six mini, allotment inspired, abstract landscapes
and I thought I might share one a day over the next six days
(Saturday to Thursday)
 
this one is called "the emerald allotment"


the base consists of a stiff Vilene layered with torn papers and cut and ripped fabrics
distressed papers and hand painted papers are perfect for this technique
(use your gelli plate samples)
 
after securing the pieces (I will explain on Saturday)
more colour can be added with paints, oil pastels, gilding flakes etc.
then use your sewing machine or hand stitches to further secure the pieces
 
you do all that before cutting up your piece to make smaller pieces to work on ...

 
the emerald allotment has pieces of silk and hand dyed fancy yarns
metallic organza, a bit of old cross stitch of a bee hive
papers painted with gold acrylics, little pieces of fabric
and some "emerald" jewels ripped from an old top I had
 

I love close up photos of stitched details
 
you can see the zigzag machine stitching (variegated metallic thread)
french knots, gold stitches and beads
 
the metallic textures near the "emeralds" are gilding flakes glued on and burnished
 
really ... you can use just about anything you wish on your pieces
so long as you can secure it on with glue or stitch
this is where doing things in order is important
 
and here is it ... finished I think!
(knowing when it's finished is instinctive but very personal)
 

I've been thinking about offering a little tutorial on this abstract technique
which is suitable for beginners upwards and has endless possibilities
 
the technique is a lot of fun because you work on one abstract piece
and then cut it up into as many little pieces as you wish
 
at the end ... the pieces are suitable for framing or stitching to small canvases
or can be made into art cards or glued in your sketchbook
 
on Friday I will give a list of materials to gather
ahead of the tutorial which I hope to post next Saturday
 
tomorrow ... "the beekeeper's allotment"